Exercise 1: Animate a ball
In this exercise, you will create a "sprite" image of a red ball, then add a simple animation.
Create a new project
-
Open the Hybrix website in your web browser: https://www.hybrix.dev/
-
Use your mouse to click the green "PROJECTS" button in the upper right corner of the page.
-
Click the button for "NEW PROJECT". A new item will appear in the list with a name like "PROJECT #1".
-
Click on the project, then click "OPEN…" to open the project.
You should see a screen like shown below:

-
The yellow arrow shows the project name ("PROJECT #1"). Move your mouse over this text, then click the pencil icon to rename it.
Give your project a more meaningful name:
BOUNCE BRIX
What is it?
A Hybrix project contains all your work that is used to build a computer program. The project is stored online by the website, as part of your user account. The project contains code files, artwork, songs, and sound effects. You can create multiple projects.
Create a sprite
-
Click the SPRITES tab at the top of the screen.
-
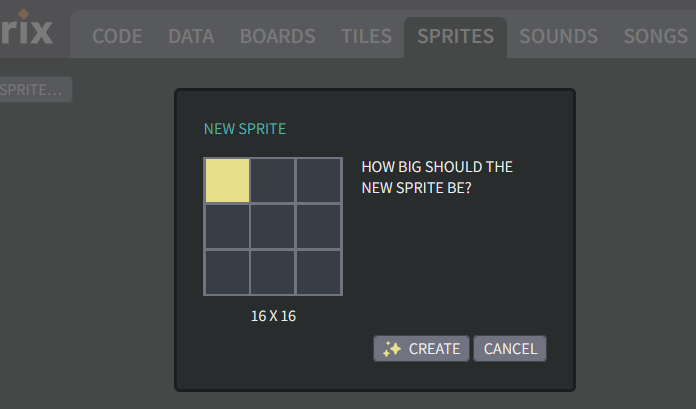
Then click the "NEW SPRITE…" button, and choose the smallest size: 16 × 16 pixels.
-
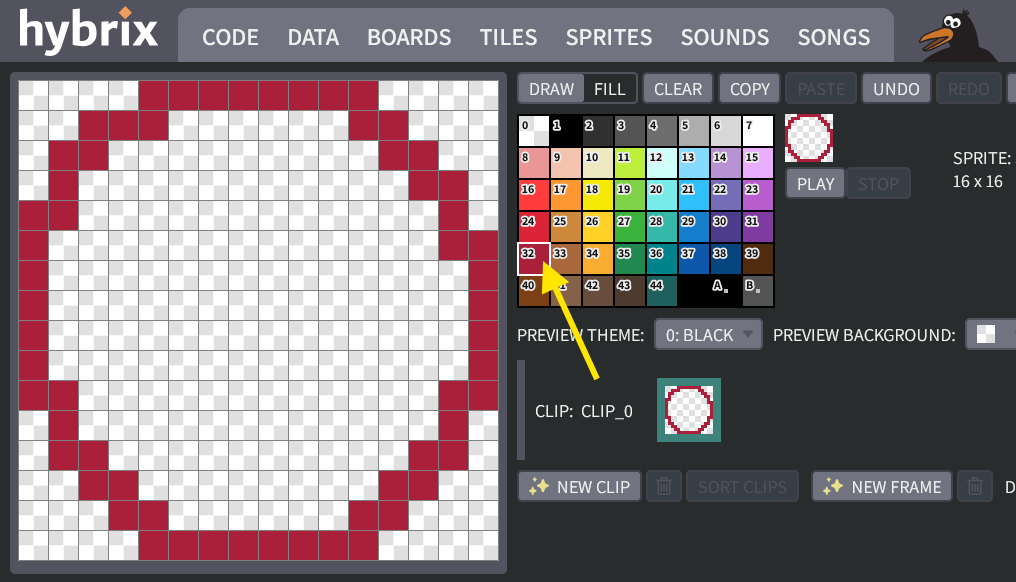
Click to open your sprite in the editor. Then click on color #32 ("chili"). Then draw a big circle, as shown below:
-
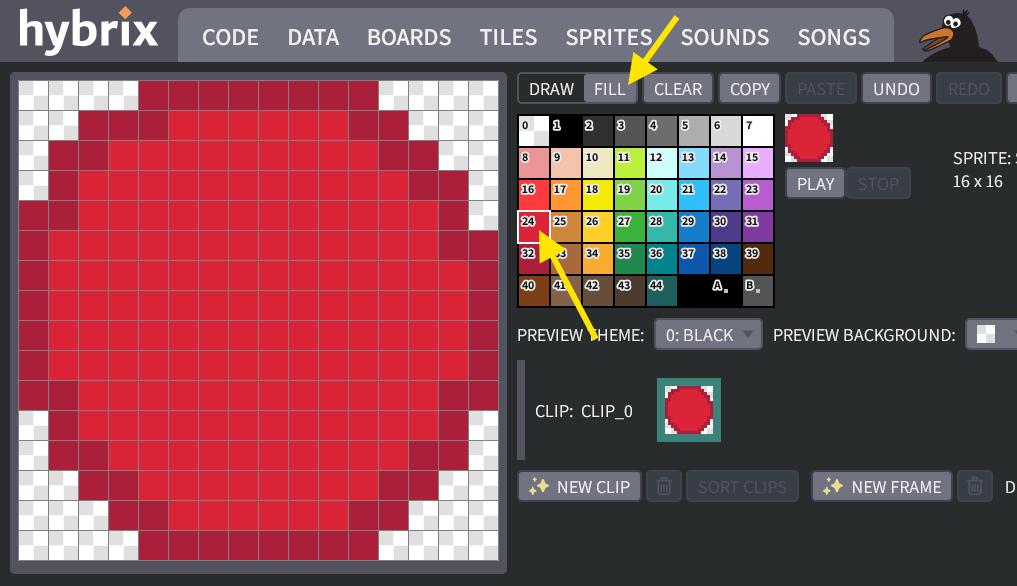
Use your mouse to click color #24 ("rudolf"). Click the "FILL" button. Then anywhere inside your circle to fill it, as shown below:
- It's okay if your ball looks somewhat different from the picture above.
- If you make a mistake in the drawing editor, click the "UNDO" button to try again.
- To undo all changes since the last time you saved, you can click "REVERT" at the top of the screen.
What is it?
A Hybrix sprite is an art object that you create by painting tiny colored squares called pixels. The word "pixel" is short for picture cell. A sprite has fixed dimensions such as 16 × 16 (which means 16 pixels wide × 16 pixels tall).
As we will see next, sprites can be animated by creating multiple images called animation frames. The sequence of frames comprises an animation clip. The same sprite object may have multiple clips such as a person standing, running, climbing, and so forth.
Animate your sprite
-
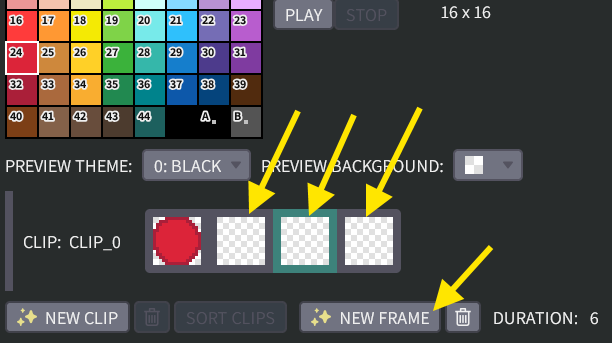
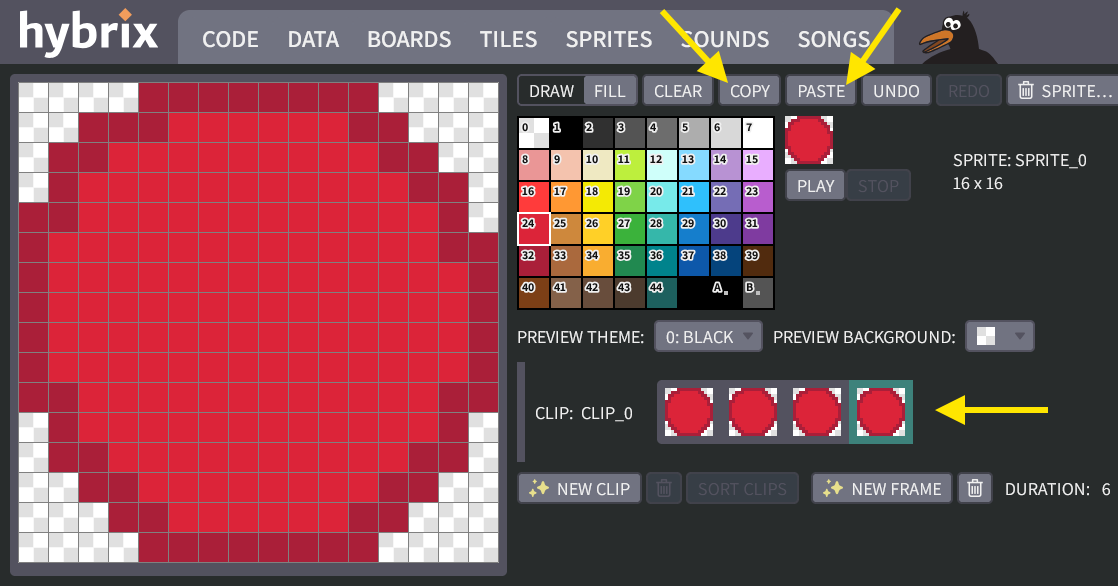
Let's make a simple animation for your sprite. Click the "NEW FRAME" button three times. You should now see four animation frames total, indicated by the yellow arrows below:
-
Click on the first frame to select it. Then click "COPY", which copies your ball artwork to the clipboard. One by one, click on each empty frame, and click "PASTE", so there are four red balls:
-
For now, we'll make a very simple rolling ball animation. Click on the color #8 ("blush"). Click the "DRAW" button. Then draw lines on each frame, like this:
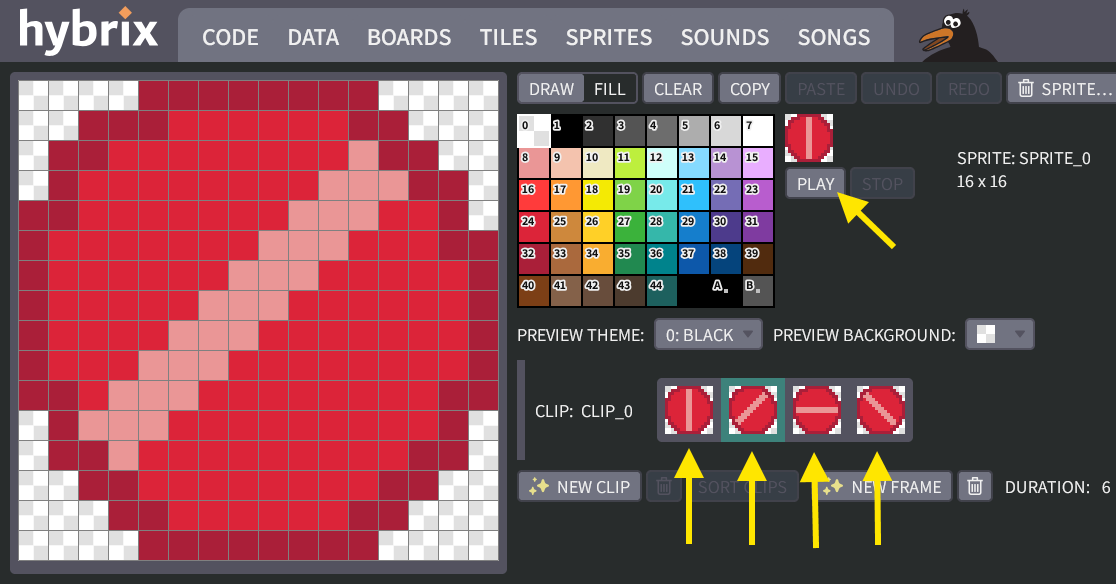
Clicking the "PLAY" button should produce a nice rolling animation (above the "PLAY" button):

- It's okay if your ball looks somewhat different from the picture above.
- If you make a mistake, click the "UNDO" button to try again.
When you are happy with the result, click the "SAVE" button in the upper right corner of the screen.
Great job! That's all for Exercise 1. In the next exercise, we will build a computer program that uses your sprite artwork.